Getting Started
- To wake the screen, tap the Cisco touch panel located on the wall near the podium.
Using the Classroom PC
- On the touch panel, tap Share located under Classroom PC.
Using a Laptop (HDMI)
- Plug proper display cable, located on the podium, into your laptop.
- On the touch panel, tap Share.
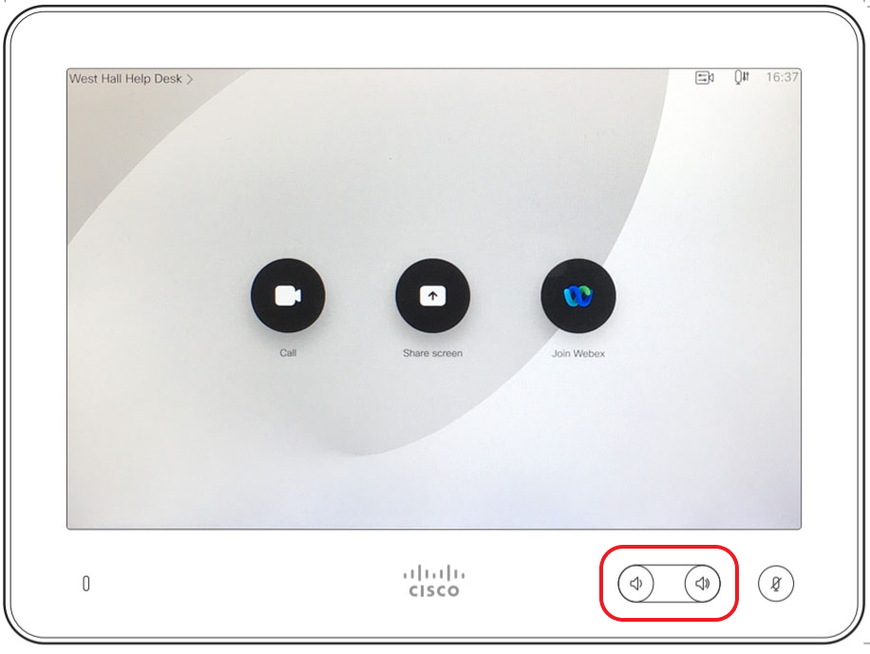
Audio Settings
If the audio isn't projecting through the classroom, ensure the proper output is selected and the volume is adequate.
- Click the sound icon, located in the bottom right corner of the computer screen.
- In the Select playback device menu, the Codec option should be selected.
- The volume can be adjusted from the computer or the Cisco touch panel.
Interactive Whiteboard
- On the interactive SMART display panel, tap the Input button and select the desired display source.
Powering Down
- To stop sharing:
- On the Cisco touch panel, tap Share.
- Tap Stop Sharing.
- To power down:
- Select the room name located in the top left corner of the screen.
- Select Standby.
- Press the Standby button on the Interactive Display panel twice.
Troubleshooting
- Digital Whiteboard will not power on and power light isn’t lit:
- Ensure the power cable is plugged into a working power outlet.
- Displays are not turning on:
- On the Cisco touch panel, tap the room name located in the top left corner.
- Tap Settings.
- Tap Restart.
- Adjusting the display volume:
- On the Cisco touch panel, press and hold the left Volume button to decrease and the right button to increase the volume.
- Restart the computer if there are additional issues.
- If further assistance is needed, contact the Help Desk at 910.521.6260 or helpdesk@uncp.edu.